Where to mount a trail camera for deer: 3 to 4 feet high on a tree 10 to 20 feet from the spot you want to watch, angled slightly across the deer trail rather than straight down it, and facing north or south so the sun never shines into the lens. In the pre-rut, the best locations are fresh scrapes, rub lines, funnels between bedding and food, and the entry points of food plots.
Good placement matters more than any feature on the camera. A $100 camera on a fresh scrape beats a $400 camera pointed at an empty field. This guide covers where to put your cameras in late October, how high and how far to mount them, and the small mistakes that cause blurry photos and missed bucks.
What are the best trail camera locations in the pre-rut?
| Location | Why it works | Camera setting |
|---|---|---|
| Fresh scrapes | Bucks check scrapes repeatedly, often at night early on and in daylight as the rut nears | Photo burst or short video |
| Rub lines | Show the travel route a buck uses between bedding and food | Photo, fast trigger |
| Funnels and pinch points | Terrain forces deer through a narrow area | Photo burst, wide view |
| Food plot entries | Deer stage at the edge before entering | Photo plus timelapse |
| Water sources | Rutting bucks drink often, especially in warm weather | Photo |
How high should you mount a trail camera?
For deer, 3 to 4 feet off the ground (roughly chest height on an adult) is the standard. At this height, the motion sensor sees a deer’s body directly, and photos show antlers clearly. Mounting higher, around 6 to 8 feet and angled down, reduces theft and keeps the camera out of a curious buck’s line of sight, but you need a mount that tilts the camera downward or the sensor will look over the deer’s back.
How far from the trail should the camera be?
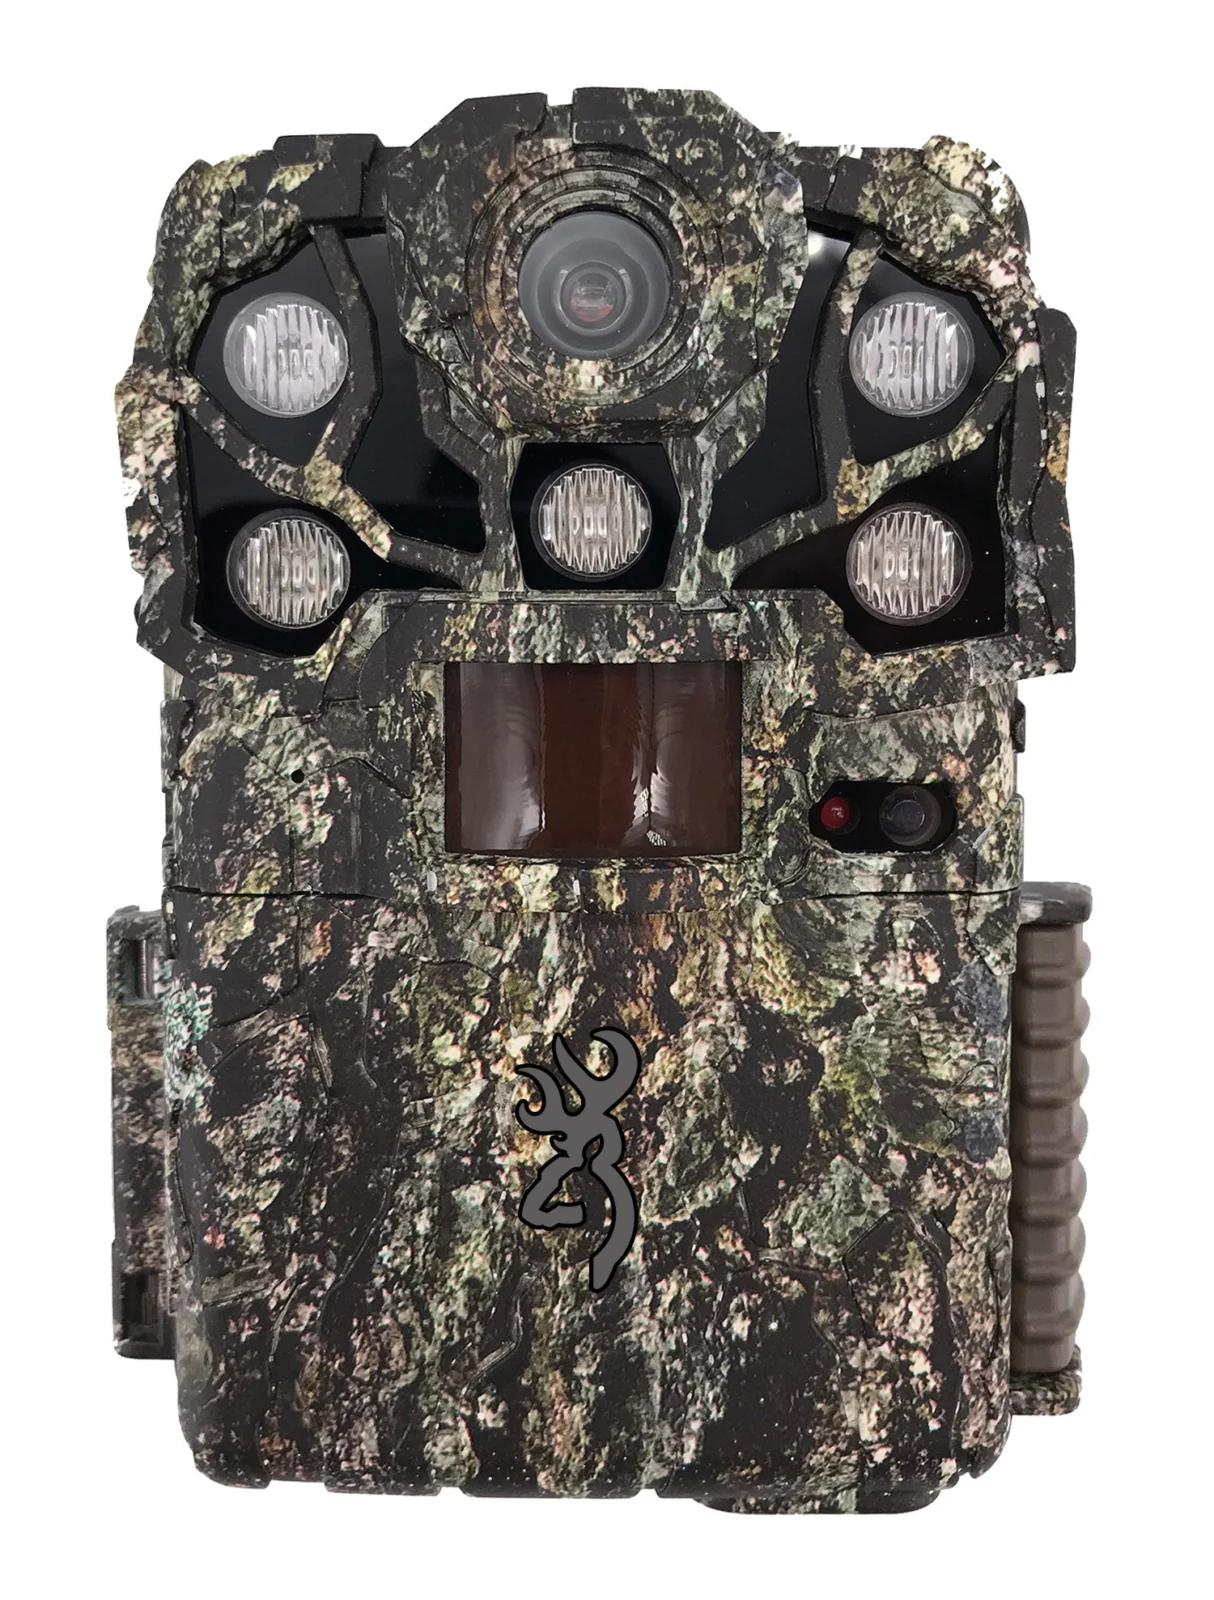
Ten to twenty feet is ideal for most cameras. Closer than 8 feet and a deer fills the frame or walks out of it before the camera fires; much farther than 30 feet and night photos get dim, even on cameras rated to 80–100 ft. If you want to cover a wide field, use timelapse mode on a camera such as the Browning Recon Force Elite HP5 Ultra, which can record the whole field on a schedule.
Which direction should a trail camera face?
North is best, south is second-best. East- and west-facing cameras stare into the rising or setting sun, which causes washed-out photos and false triggers just when deer are moving. If you must face east or west, angle the camera slightly downward and look for natural shade.
Should the camera point straight at the trail?
No. Angle it about 30–45 degrees across the trail. A camera pointed straight down the trail catches deer walking toward it head-on, and a camera at 90 degrees may miss deer that walk through quickly. An angled view gives the motion sensor time to react and gives you a broadside view of the buck’s rack.
How do you set up a camera on a scrape?
- Mount 10–15 ft from the scrape, on the downwind side of how deer usually approach.
- Include the licking branch in the frame; bucks often work it without stepping into the scrape.
- Use a short burst (3 photos) or 10-second video so you can see behavior and judge antlers.
- Choose a no-glow camera such as the Browning Spec Ops Elite HP5 Ultra so mature bucks are not spooked by a red flash at close range.
What mistakes cause missed photos?
- Branches and tall grass in front of the lens cause false triggers that fill your card and drain batteries.
- Too much scent. Wear rubber boots and gloves, and visit cameras midday when deer are bedded.
- Checking too often. Every visit leaves scent and noise. This is where cellular cameras such as the Tactacam Reveal X 4.0 shine.
- Slow trigger at close range. At 10 ft, a walking deer crosses the frame in about a second; you need a trigger of 0.5 s or faster.
How often should you check cameras in the pre-rut?
Every 7–10 days for SD card cameras, timed for midday and with a wind that blows your scent away from bedding areas. Cellular cameras let you check daily from home and only visit to change batteries. Many hunters run a mix: cellular on the one or two hottest spots and SD card trail cameras elsewhere.
Where to mount a trail camera for deer as the rut approaches
In early October, food sources and the trails leading to them carry the most traffic. By late October, scrapes and rub lines heat up and bucks begin checking doe bedding areas. Move one or two cameras every couple of weeks to follow the sign; a camera that was perfect in September can go quiet as acorns drop and deer shift to new food.
How do you set up trail cameras on food plots?
Food plots are where you take inventory: which bucks are on the property and when they show up. Place one camera at the main entry trail, about 15 ft off the plot edge and 3–4 ft high, so it catches deer as they step out in shooting light. Add a second camera on the far corner set to timelapse during the last two hours of daylight. Timelapse records the whole plot regardless of the motion sensor’s range, so you see deer at 150 yards that would never trigger a PIR sensor. Cameras with long night range, such as the Browning Strike Force Pro X 1080 with its 120-ft flash, are a good match for open plots.
What if there is no good tree?
Field edges, CRP and prairie often lack a straight trunk in the right spot. Use a ground stake or T-post mount, a screw-in tree arm that lets you aim the camera independently of the trunk angle, or a small wedge (a stick works) behind the camera to tilt it. Always do a walk test after mounting: walk past the camera at deer height and distance, then check the photos to confirm the frame and trigger zone.
How do you keep cameras from spooking mature bucks?
Mature bucks notice change. Hang cameras a week or two before you need the data, keep them above the deer’s eye line if possible, and use no-glow flashes near bedding cover. Avoid shiny straps and remove price tags or reflective stickers. Treat each check like a hunt: play the wind, wear rubber boots, and get in and out quickly. A cellular model such as the Spypoint Flex-Dark removes most of those visits entirely.
What settings should you use in late October?
- Sensitivity: high in cool weather; medium if you get many empty frames on warm, windy days.
- Delay: 30 seconds to 1 minute on scrapes and trails, so you do not miss a second buck following a doe.
- Burst: 3 photos per trigger gives you several looks at the rack.
- Video: 10–20 seconds on scrapes to see behavior, if your batteries can handle it.
Specifications in this guide come from the manufacturers’ official websites: Browning, Tactacam, Spypoint. Prices are current at the time of writing; check each product page for today’s price.
Frequently asked questions
How high should a trail camera be for deer?
About 3 to 4 feet off the ground, or higher if you angle the camera down with a tilting mount.
How far should a trail camera be from a scrape?
Roughly 10 to 15 feet, angled across the scrape so you capture the licking branch and the buck broadside.
Which way should a trail camera face?
North if possible, south second, to avoid the low sun at sunrise and sunset.
Should I use photo or video on scrapes?
A short photo burst or 10-second video shows behavior and gives multiple angles of the rack; video uses more battery.